A step-by-step guide to creating a simple knotted up-do dread style with only your dreadlocks.
If you can tie your shoes, you can create any number of amazing up-dos in your locks.
Basic knots are the building blocks to every great up-do dread style you'll ever put your locks in. You already have the skills you need, get a little practice and get creative!
Here's a quick and easy dread style to illustrate what we mean, using just your own hair - not even an elastic!
Detailed Instructions

Step 1 - put your back into it
Tip: Before you begin, mix 1 part Locksteady Tropical Tightening Gel and 3 parts water in a Spritzer Bottle, shake well and spritz onto dreads to smooth frizzies and fly-aways.
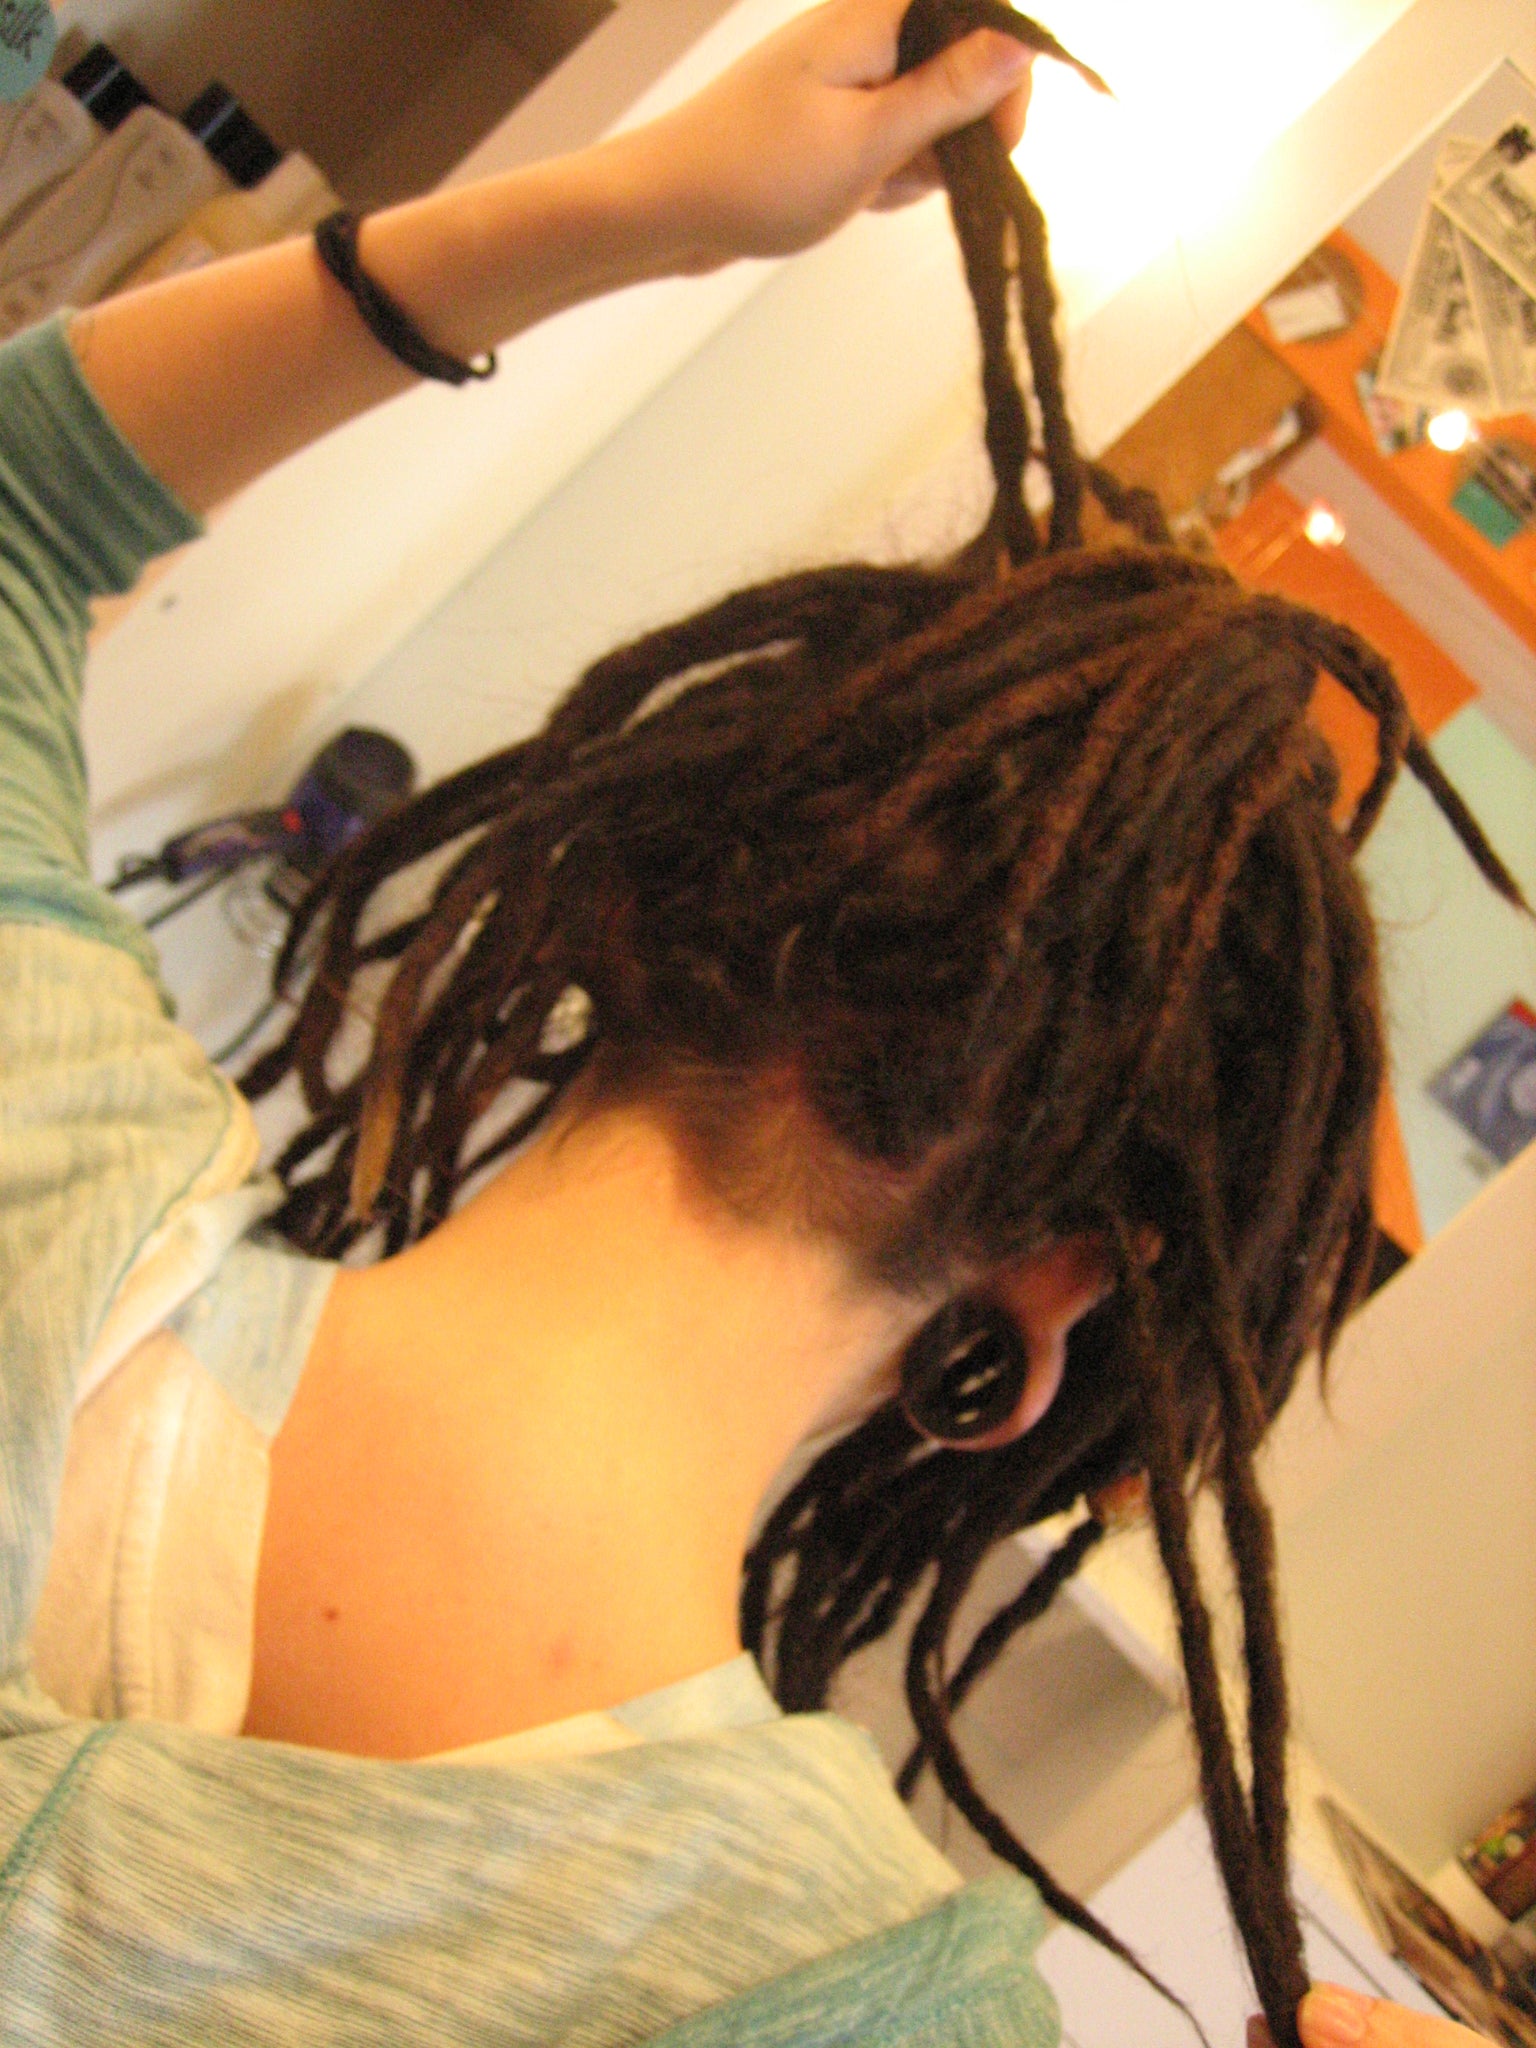
Take the dreads from the back and pull them straight up (this will give you a cool spiky effect, while also saving you some work!).

Step 2 - tie up corners
Imagine there is a square on the back of your head. Take a few dreads from the top left corner of that square, and then a few from the bottom right.
Then... you tie a simple ol' knot! It's just that easy!

Step 3 - repeat
Repeat the process with the other two corners. When you tie, make sure you're not piling your knots right on top of each other.
Continue to use this cross-corners technique to finish all the dreads in the back.
When you've got the back tied down, you can start incorporating the front dreads. Tie them to the ends, or wrap them around towards the back and tuck them in.

Step 4 - ta-da!
Time to show off your up-do! Here's a look at the front of it. It may look like a lot went into it, but this only took all of four minutes to create.
By differing the pattern and placement of your knots, you can use this basic technique to create a different dread style for every day of the week - heck, for the year! Try it with ponytails for a different spin on buns.

